Ice Balloons
Ice balloons are a fun way to try out cool experiments and make observations using basic items from your kitchen. Be sure to have adult approval and/or supervision to do this activity.
What You’ll Need:
- 12” balloons (for latex allergies, try small mylar balloons)
- Tray
- Access to a freezer
- Toothpicks
- Paper clips
- Salt
- Sugar
- Magnifiers
- Food coloring
- Flashlight
- Scissors
Directions
Preparing the ice balloon:
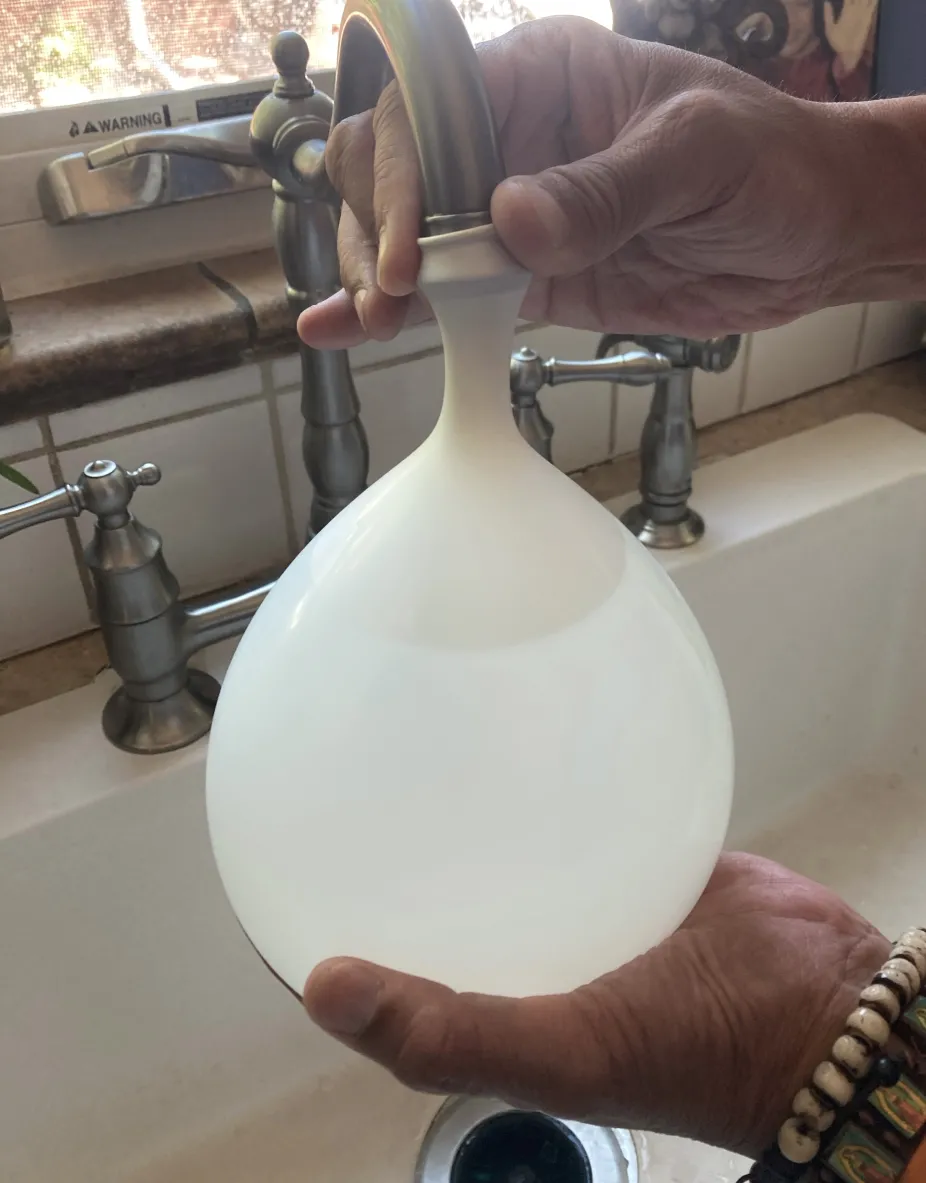
- Attach a balloon to a water faucet spout, filling the balloon until it is filled at least 5”-6” in diameter. Take out as much of the air as you can. Do not overfill and tie it off.
- Gently place the balloon in the freezer, ideally for a couple of days so that it is completely frozen.
Experimenting with the ice balloon:
- Collect the materials for your experiments: toothpicks, paper clips, salt, sugar, magnifiers, and food coloring.
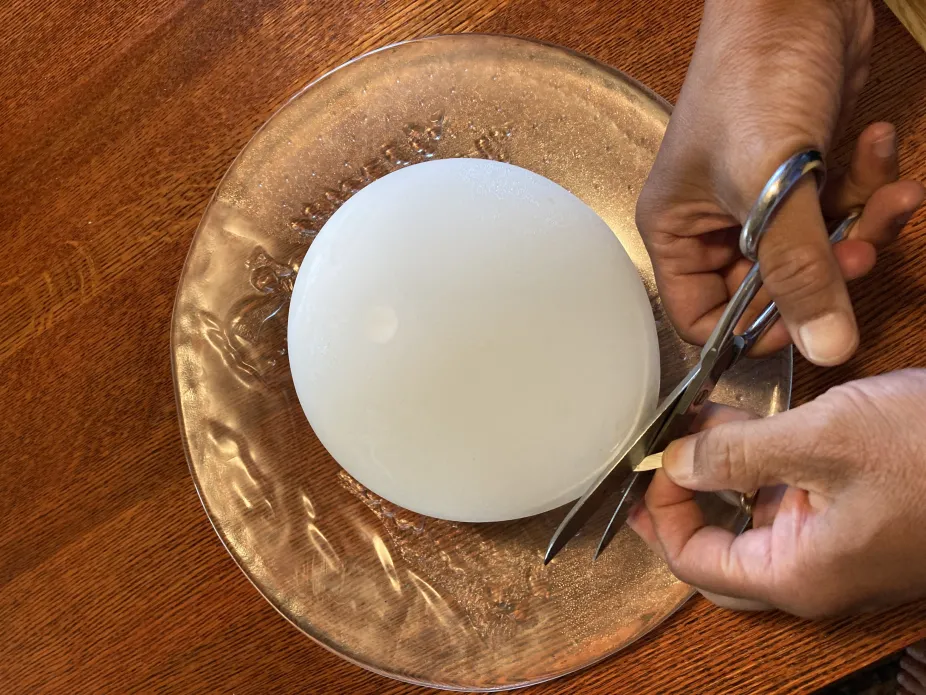
- Place the ice balloon on a tray.
- Snip off the end of the balloon to remove it from the ice.
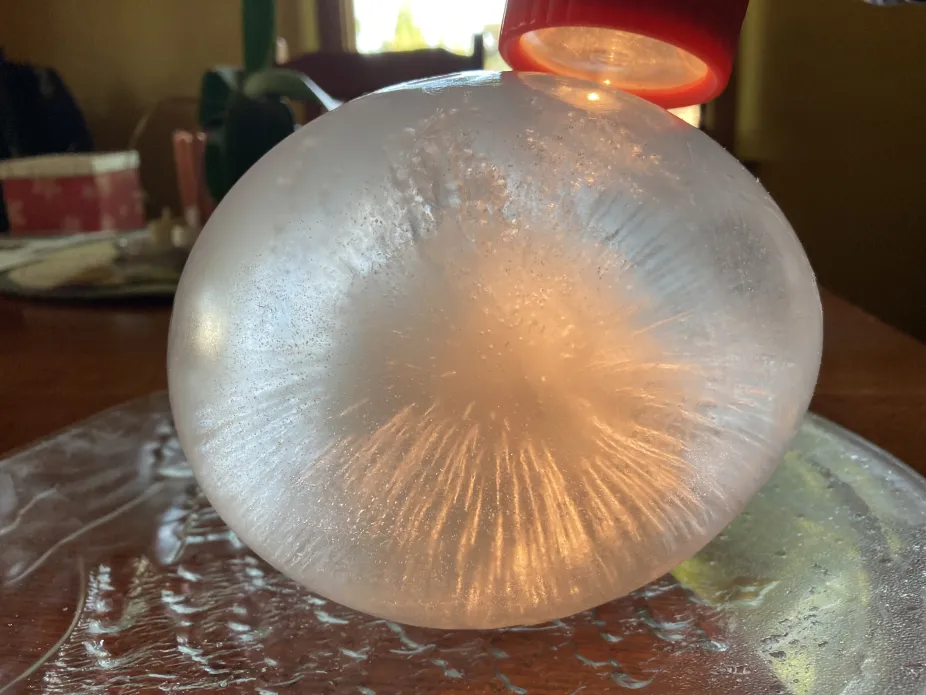
- Start investigating the ice with a flashlight. What patterns do you see? What do you notice?
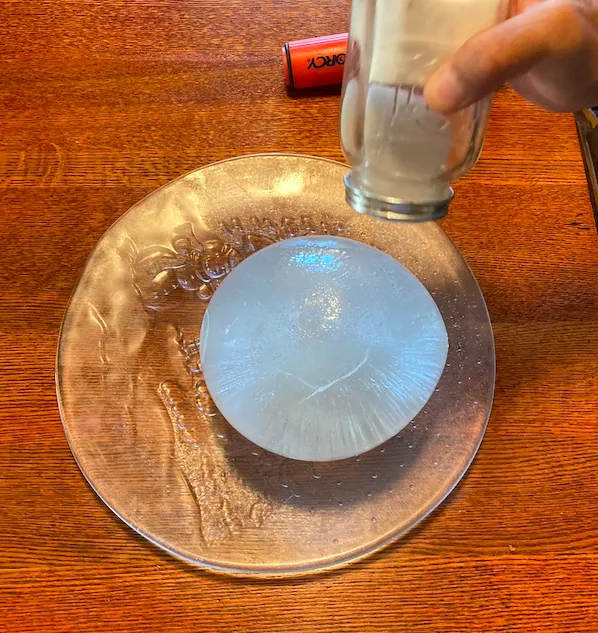
- Sprinkle some salt on the ice balloon and observe how the ice changes.
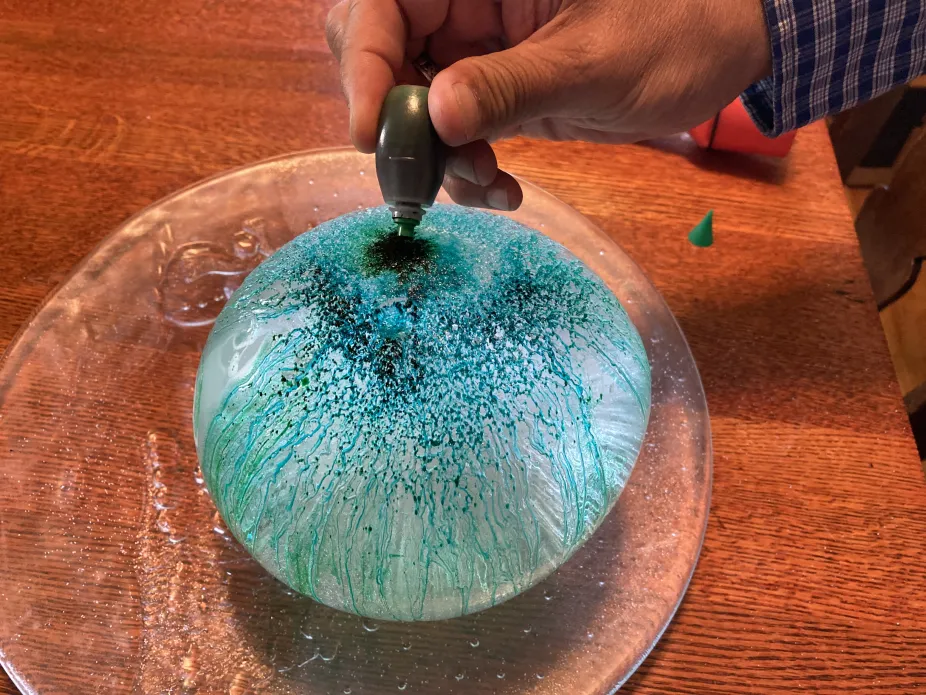
- Use other materials to investigate the ice balloon: drops of food color, toothpicks, paper clips, etc. What else can you use to explore the ice? What do you notice? What do you wonder about?
Clean up
- Set aside the materials you used to investigate the ice balloon.
- Place the ice balloon in the sink to melt, rinsing it off so that the food coloring doesn’t stain the sink. Rinse off the tray.
This activity was adapted from the Exploratorium